Sunday, March 23, 2014

Making Pullip Doll Photography sets for a small space

I have a small doll photography area at the end of my long craft table, and I've had a few questions from people who have seen my BTS shots (behind the scenes) on Instagram about how I set up my sets.  I'll try to explain how I have approached setting up a small doll photography studio and I also have a video to go with this post (you'll find it towards the end of this post).

For indoor doll photography, there are what I call on-location shots (like shots of dolls on their doll shelves, or around my house, by a window, etc.) where I use an already existing background as my set.  For these, I usually bring my photography bag with me (see a video on what I pack Here), and treat it like any outdoor photo shoot, except it is warmer and drier (usually).
BTS
On-location indoor doll photography
Then there are what I call studio shots, where I add props to a plain background in a semi-dedicated space and build a scene.
I use a small section of my craft table that is 36 inches wide by 30 inches deep, which gives me more than enough space to set up scenes with multiple dolls.  My table is deeper than most and I could easily make due with a standard depth of table.  I have 2 different types of sets for studio doll photography, and both types have several different options for set-up, so I end up having lots of different looks, all using the same 36 by 30 inch space.

The first type of setup is using a seamless fabric background (you could use a roll of wrapping paper too).  When I use this kind of setup I usually use minimal props, and the photos are more about the dolls than about setting a scene.  I hang the fabric from a curtain rod on the back wall of the space and let the fabric hang down the wall and across the table surface.

Below is a shot of my studio area when it was 30 X 30 inches (before I filled in the table between the end of the table and the wall on the right).  Sometimes I put something on the table to look like a floor (as below):
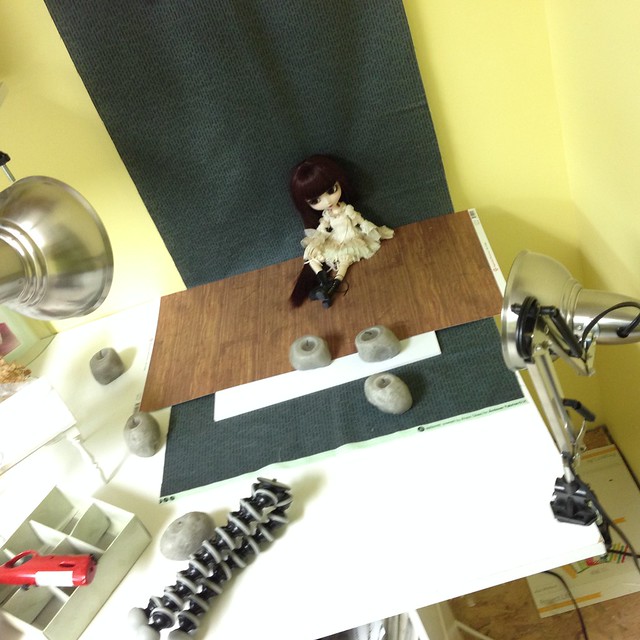
BTS Let Her Go indoor photo shoot
BTS photo shoot from January 2014

My first Pullip Music Video
Sample photo from the setup above

And other times I let the fabric be exposed on the floor for a true seamless look:
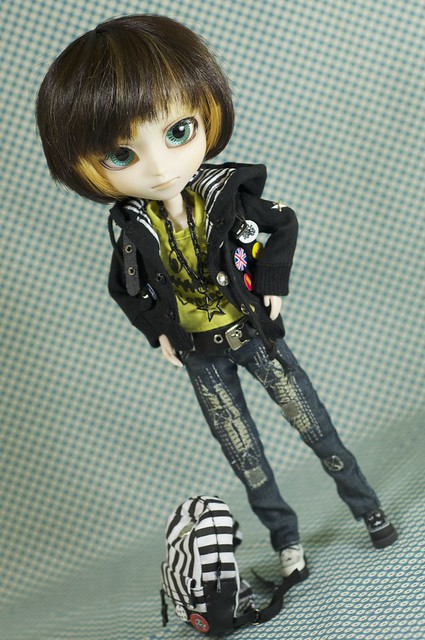
DSC_5979
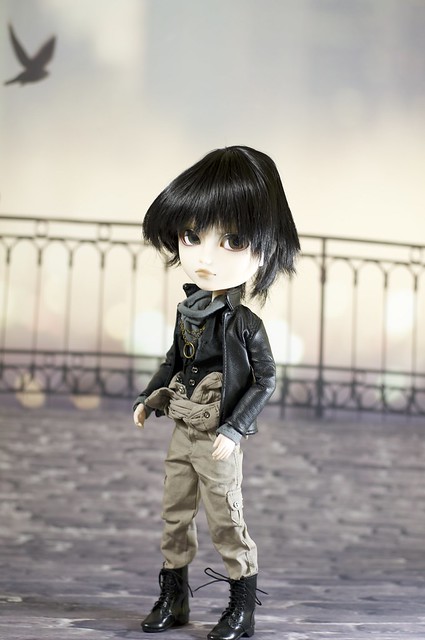
Nero poses for his introductory photos on a piece of blue fabric
I have several different fabrics that I use, plus I have 2 purchased doll photography backdrops that I use as well:


Pointy wig
Sample photo using the above backdrop (don't mind the wonky wig)

So just by adding an inexpensive curtain rod on the back wall above my table, I have a range of options for backdrops that are limited only by my supply of fabric (or wrapping paper).  I do show the curtain rod itself and binder clips I use to attach the fabric in the video below.

Besides the seamless fabric background, the second setup I use is a 2-walled diorama.  To make a simple diorama all I needed was some foam board, patterned paper, mac-tac (cupboard liner paper with an adhesive backing on it), and bristol board.  Other supplies that come in handy and add to the options and details are pieces of narrow wood trim, velcro, tiles, or laminate wood floor pieces.  You can get even more detailed by adding a window using more wood trim pieces, etc.  

The video below shows how I go about setting it up in detail and talks about what supplies are required.  Since making this video I started working on a window that can be attached to the wall and detached when I take the set apart.  I will show that in a separate video when I get it completed and work out the kinks.


The video shows how quickly you can build and take apart these sets once you have them made, and then the fun part is the decorating.  My kids helped make these 2 sets:

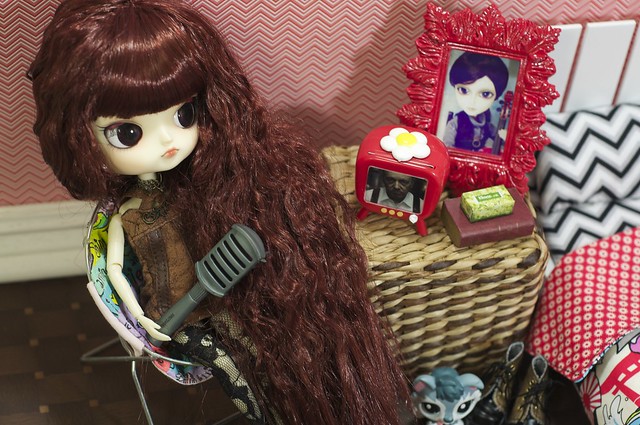
The first set was created by my 8-year-old after I set up the walls and floor.  She put her own American Girl posters on the wall in the open space (where I plan to put a window once it's done).

Kids set design
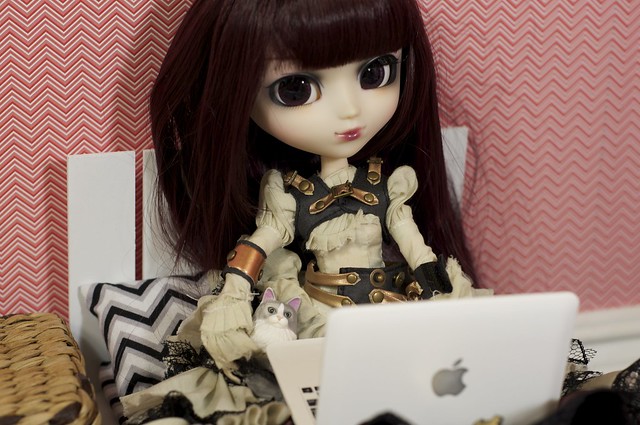
Setup # 1 Red chevron walls with wood floor
Kids set design
Even in close-ups that don't show much of the room, having baseboard peeking out in the corner reminds us
Suri is in her bedroom
Kids set design
The brush is a prop only- do not use aplastic brush on your doll or her hair will become very frizzy!


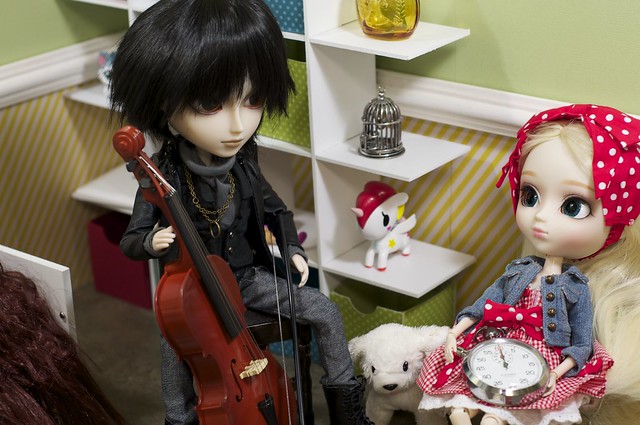
As the video shows, all I did to get this second, completely different looking room is turn around the foam board and switch out the floor!  This room was decorated by my 7-year-old daughter:
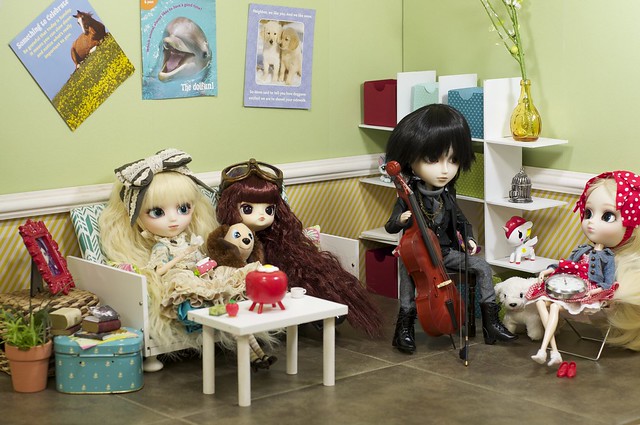
Kids set design
There is lots of room for several dolls in this small set
Kids set design
I'm not sure why Ally is holding a giant stop watch, lol!
Kids set design
It feels like things are happening when there is lots of stuff in a room.
Kids set design
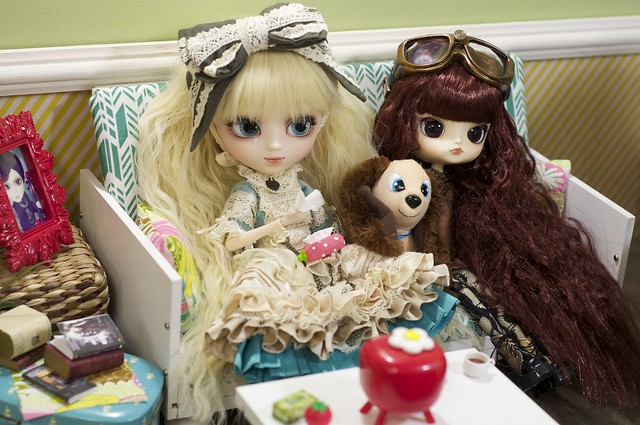
It's apparently a very sad movie!


I hope you found this helpful.  Feel free to share your ideas for setting up photography sets here or on my YT channel!


Introducing Rae (Dal Ra Muw)

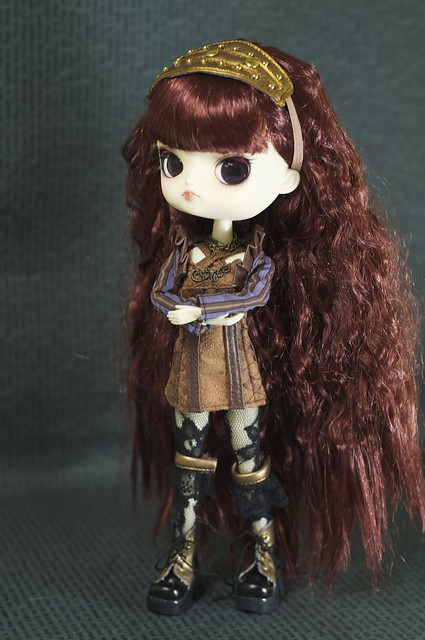
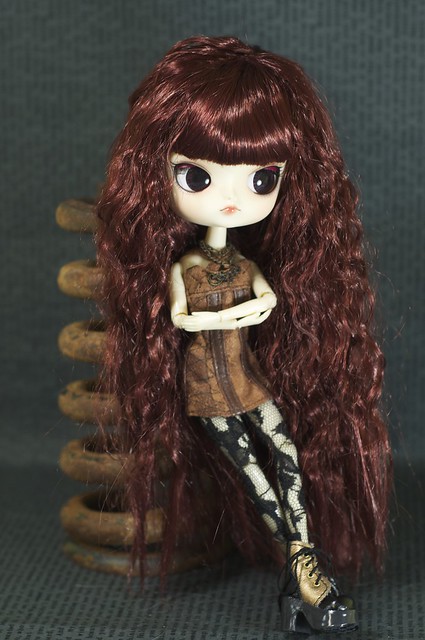
I bought Dal Ra Muw from paypal money that I got from selling some other doll stuff. She arrived yesterday:

DSC_6270
Her box is a unique combo of turquoise and brown


DSC_6273
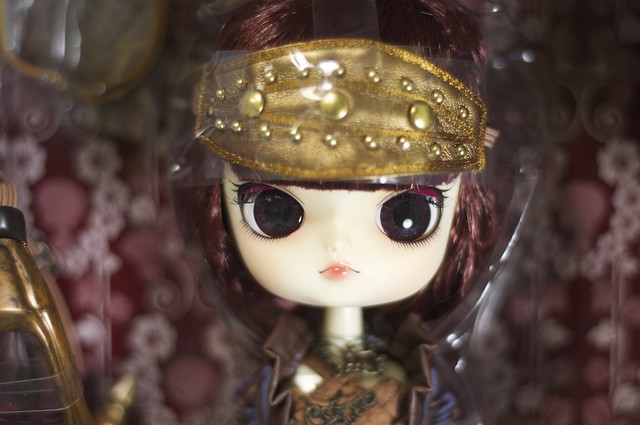
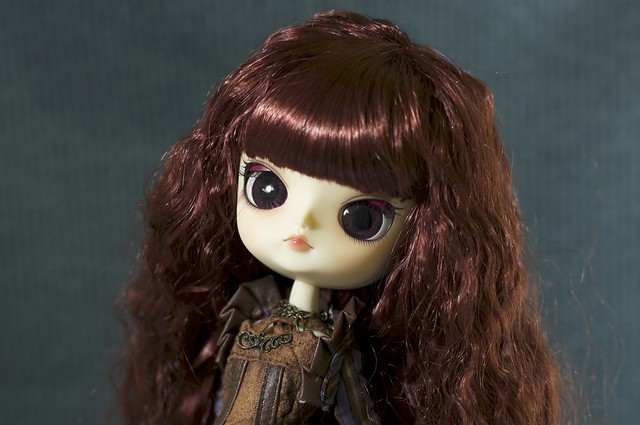
Gotta love that sweet pouty face!
DSC_6276
She comes with lots of steampunk accessories
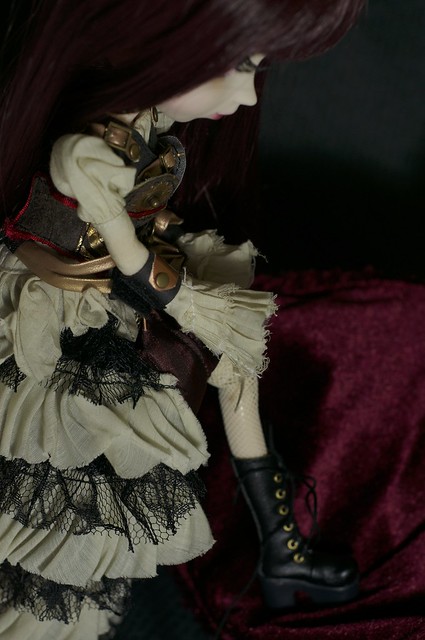
DSC_6288
I love dolls that come with solid footwear.
Despite her huge head full of gorgeous hair, I can still stand her without props or a stand thanks to those chunky boots.

DSC_6290
It took awhile for Dals to grow on me, due to their sad expression


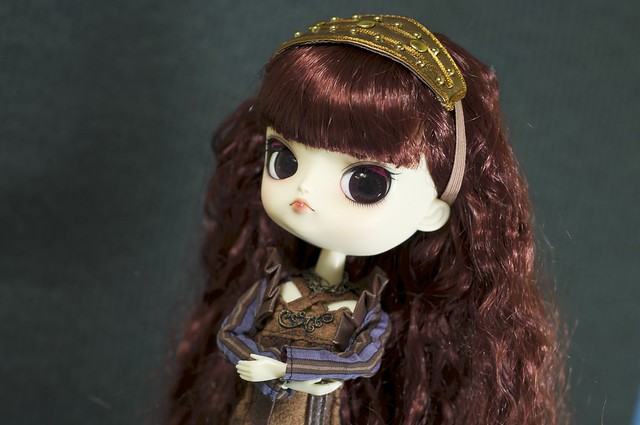
 What I love about Ra Muw is that her eyes are not sad looking, and she does't look angry to me at all.  Her eyebrows aren't visible in any of my pictures here but I show them in the video and they are nice neutral, and straight.


DSC_6292
Familial resemblance?
Although Ra Muw's skin tones are much warmer than Blood Red Hood's, they have similar hair colours, and the exact same eye chips, so I think they look like sisters or mother-daughter.

DSC_6309
Although her head can't tilt she looks inquisitive when she is titled a bit.  Almost happy, lol!
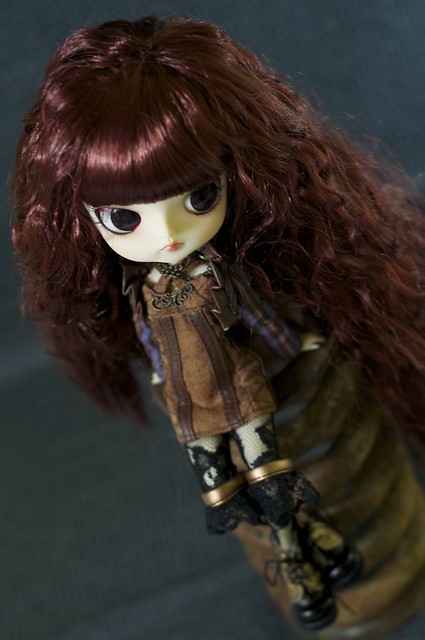
Coincidentally, the same day this pretty little thing arrived, my younger daughter found a large metal spring in the ditch in front of our house, and I think it makes the perfect prop for my little steampunk girl!
DSC_6330
Perched atop the spring
DSC_6338
This is my favourite photo of her so far.
I am still getting used to how far back her neck is on her head.  It seems like the angle of the photo is more important with a Dal, because she looks very inhuman in lots of angles because of that neck.
DSC_6340
So annoyed!
This is my first steampunk doll (although I did buy the steampunk Aurora stock outfit, used for Suri, my Bloody Red Hood doll) and I am impressed with the quality.  The price is higher for these dolls, but they do come with a lot of accessories.  I really love the quality of her dress and even her wig is great quality (although I'm sure it will be difficult to manage and frizzy due to its curl) for a stock wig.

Check out the video below for more details on Dal Ra Muw, who I am naming Rae:


Saturday, March 15, 2014

My Not- Romantic Alice Pullip

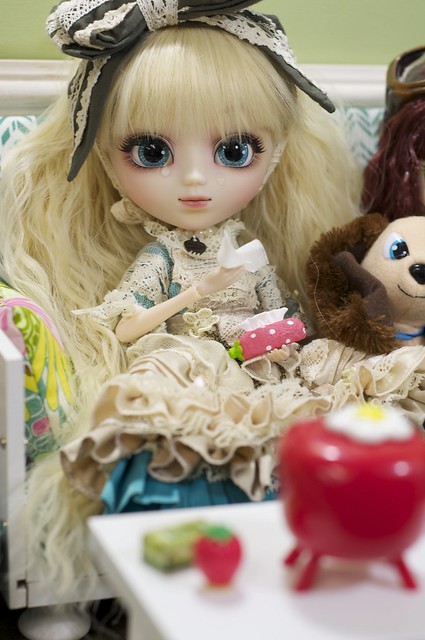
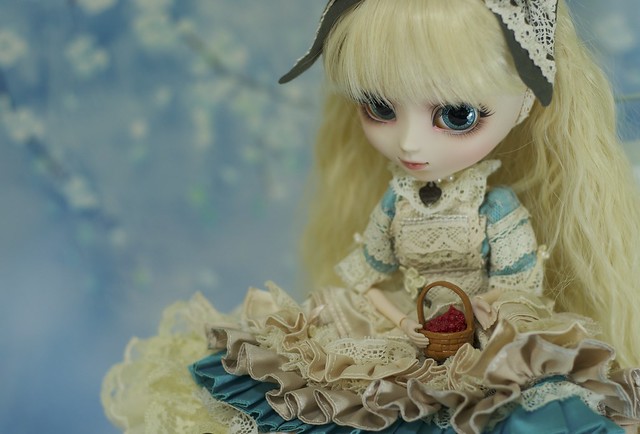
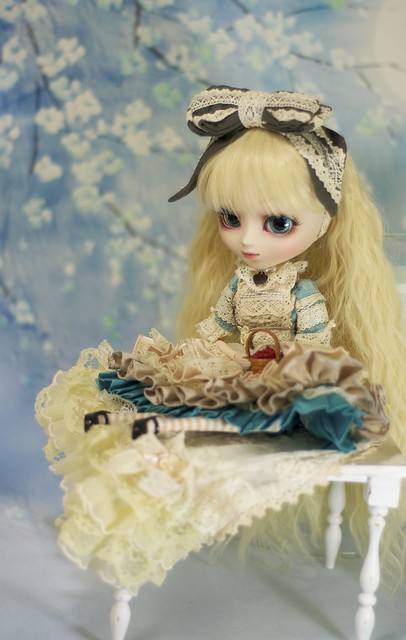
I've been wanting Romantic Alice, but not really wanting to buy a new doll, so I decided to buy her stock outfit (used, on eBay) and then try to find a wig that would complete the look.  My Suzette doll (Pullip Io) has been in need of a re-wigging (she been wearing a plastic orange wig since I bought her) and she has the most amazing blue sparkly eye chips I've ever seen, so I thought she'd made a good Alice.

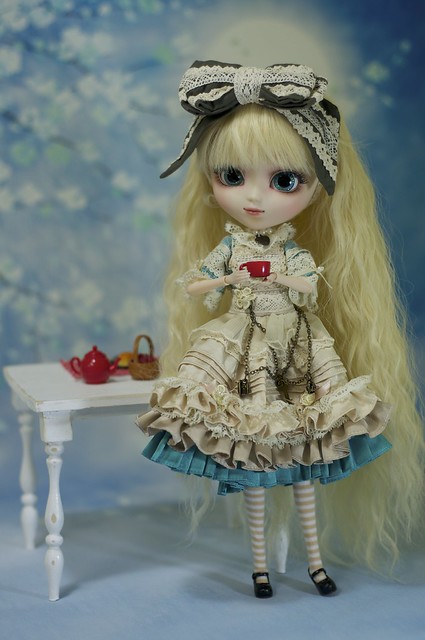
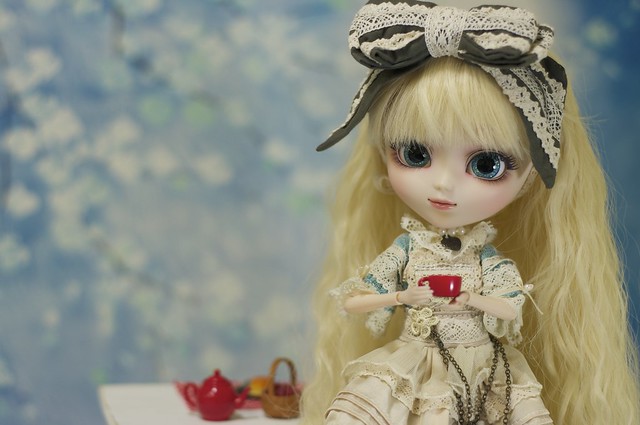
I found this wig at the Fatiao Doll Shop on eBay and it look amazing on Suzette with the Romantic Alice stock outfit:

Have some tea!
"Would you like some tea?"

Just for comparison, here is what the original Romantic Alice looks like on the Pullipstyle website:

Romantic Alice (stock image from Pullipstyle.com)


Not a bad match, eh?  I actually like her better with blue eyes than brown, as it really brings out the blue in her dress.  Here are some more pictures:

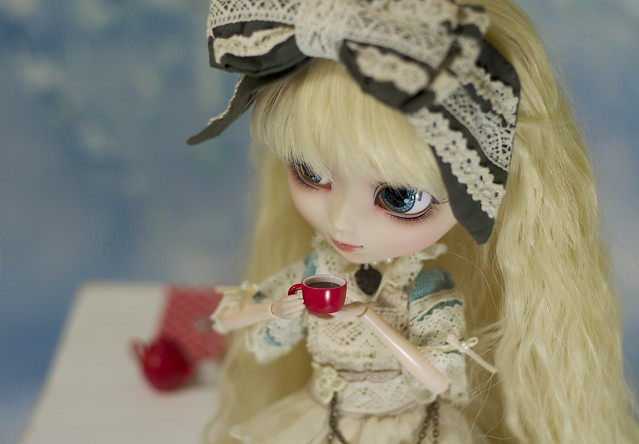
Have some tea...
Raspberry tea is delicious!
Delicious tea
Wait, do I see a rabbit over there?
Pullip Io as Romantic Alice
With a Rilakuma tea set
Pullip Io as Romantic Alice
All the pretty frills, lace, and ruffles!
Pullip Io as Romantic Alice
Suzette is now by far the prettiest of all my dolls!
 

Video share:

Pullip Luna's new wig

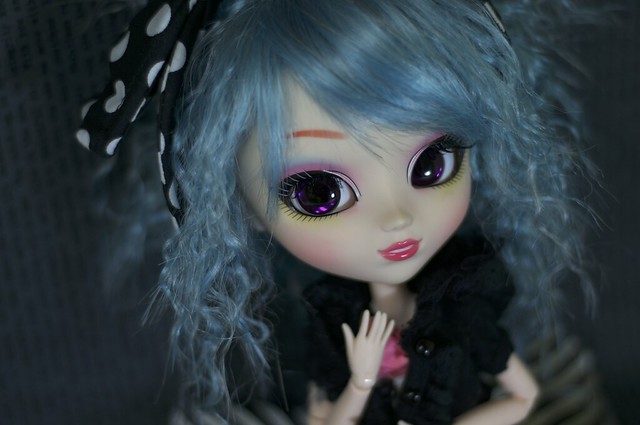
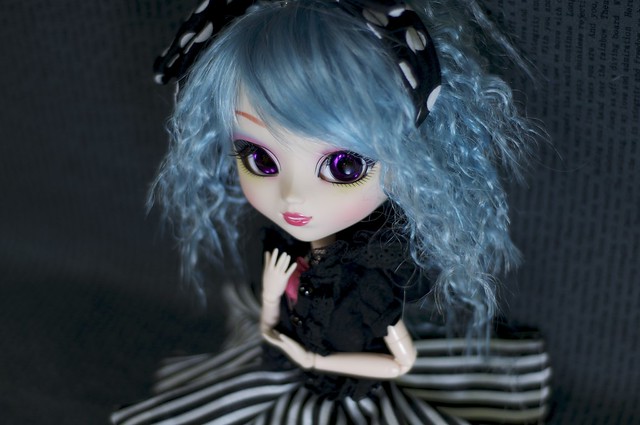
I've been searching for a fluffy, funky wig for Luna since December and finally broke down and bought This wig at Jpopdolls.  I say "broke down" because the shipping was a lot higher at this shop than I wanted to spend but I couldn't find another wig that I wanted nearly as much.  I am so in love with the new Luna:

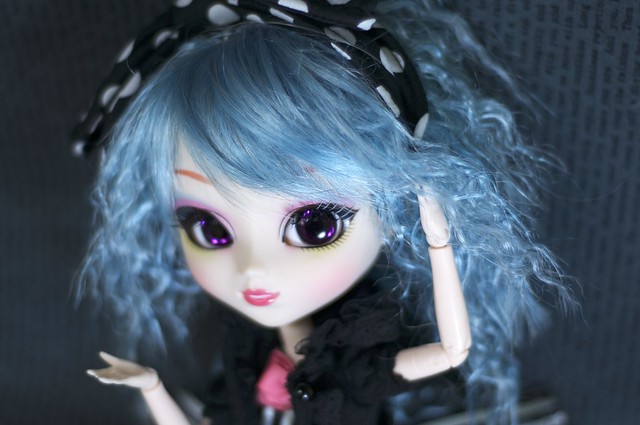
Luna's New wig
"Who, me?"
Yes, you, Luna... you look amazing!
Luna's New Wig
"Why thank you!"
Luna's new wig
"You must like my new hair, do you?"
I think it suits her quite well!  At first I thought I'd have to change her purple eye-chips, but the more I look at her, the more I like them as they are.
Luna's new wig
Loving this head of soft wavy hair!
I made a video showing the wig in detail:

Thursday, March 13, 2014

By the light of the moon (Pullip Photoshoot)

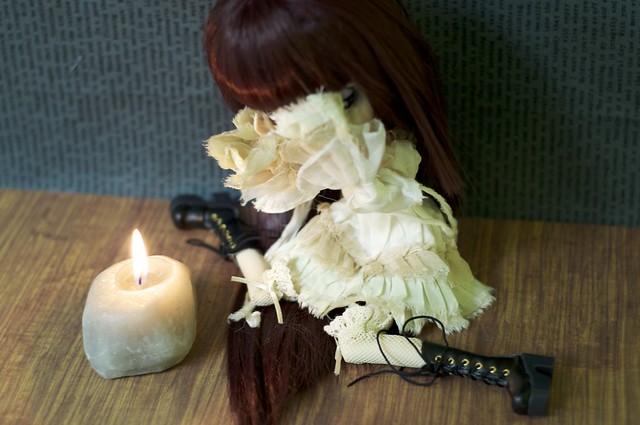
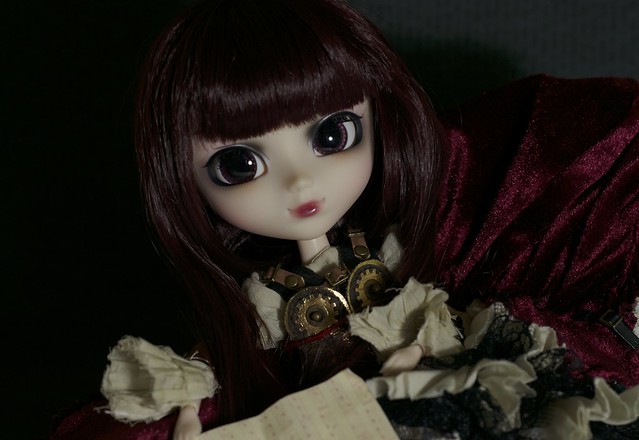
Just a couple pics to post today.  I was playing around with light this morning.  My scrap room has no windows, so when I turn off the lights, it gets pretty dark in there!  For this photo shoot I turned off all my overhead lights and lit Suri with only one of my clamp-on photo lights (they are just inexpensive lights from Home Depot with natural sun bulbs in them).  I played around with the settings on my camera, not really knowing what I was doing, but eventually I got the look I wanted.  I had her dressed in her Aurora steampunk outfit so I wanted to try for a dark and moody scene.  Here's what I came up with:

DSC_6142
In the photo above Suri is laying sideways on the couch I made.  I covered the couch cushion with Suri's red cape to add to the dark mood.

DSC_6149


I love how Suri is so off centre in the final photo, so I decided to add a title and use this image for the beginnings of my Secrets of Woodside videos.  If I ever learn any Photoshop skills, I'll get rid of that stray hair on the left side of her face.  In this photo she was posed as if putting her hair up, and I shone a small flashlight on her hair to get the highlights to show up in the picture.

DSC_6158 - Version 2_fotor
These photos were taken with a 50mm lens with a shutter speed of 1/50, aperture of f/4.5 and ISO of 200.

Thursday, March 6, 2014

In the Apartment Today March 6

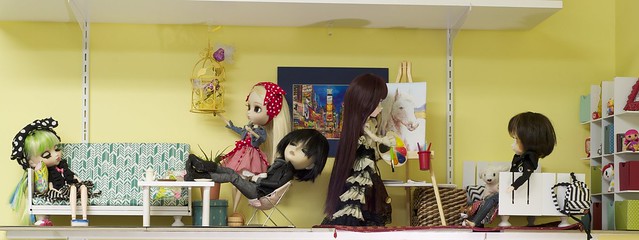
In the Apartment Today:

In the Living and Bedroom
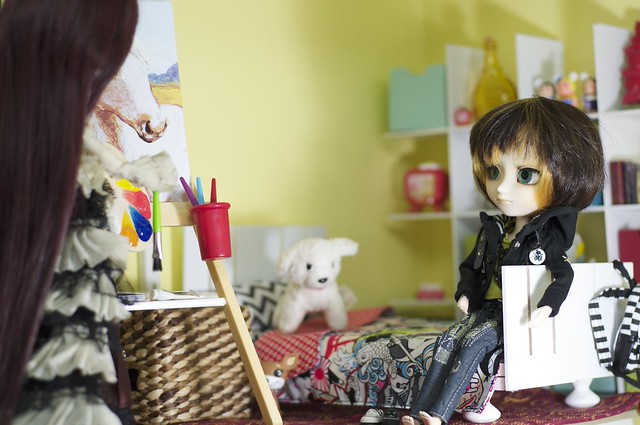
Most of us are here in the living/bedroom

Nero and Suri Chat
Nero and Suri chat

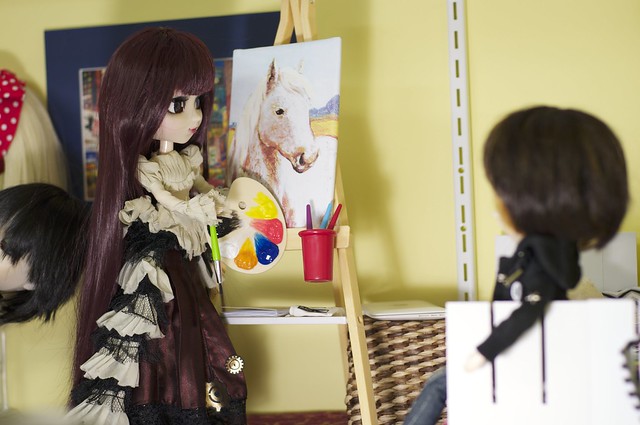
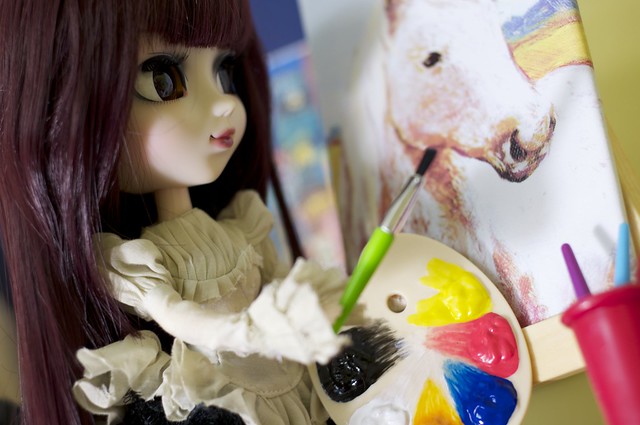
Suri Explains her latest painting
While Suri paints

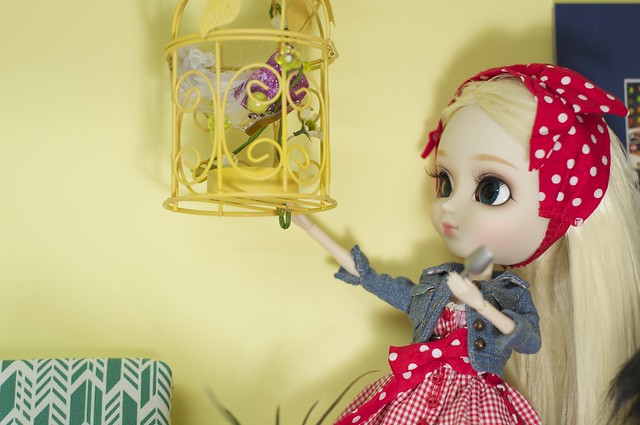
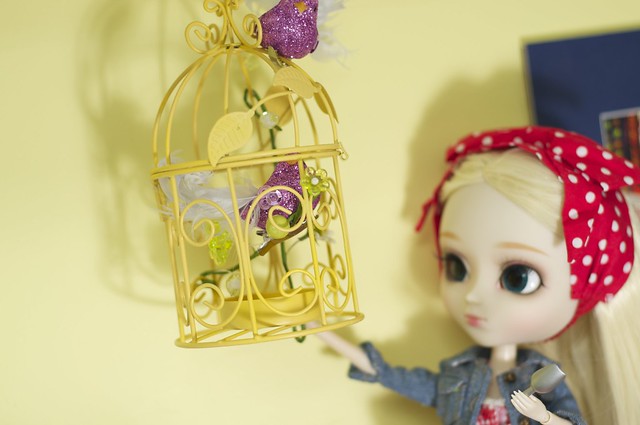
Ally Feeds the birds
Ally feeds the birds

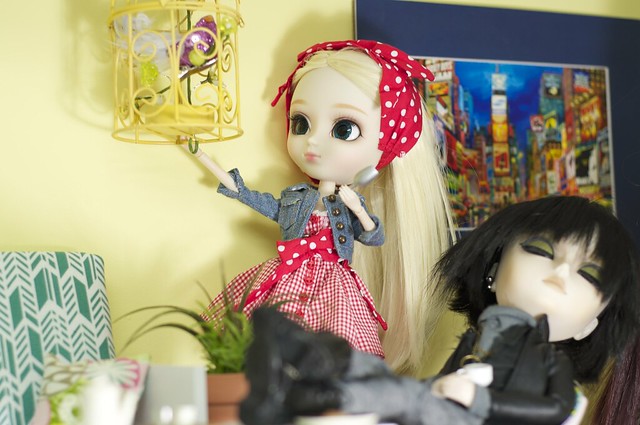
Ally tiptoes around Jax to feed the birds
She tiptoes around Jax so as not to wake him

Tweet tweet!
"Tweet Tweet!"  "Shhhh, birdie, Jax was out late last night!"


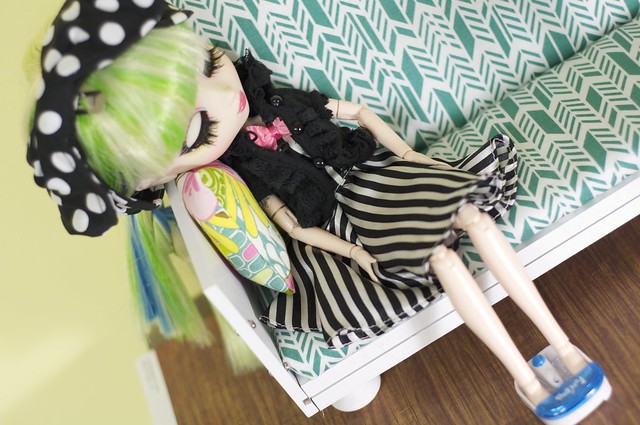
Luna is exhausted after her first shift waitressing

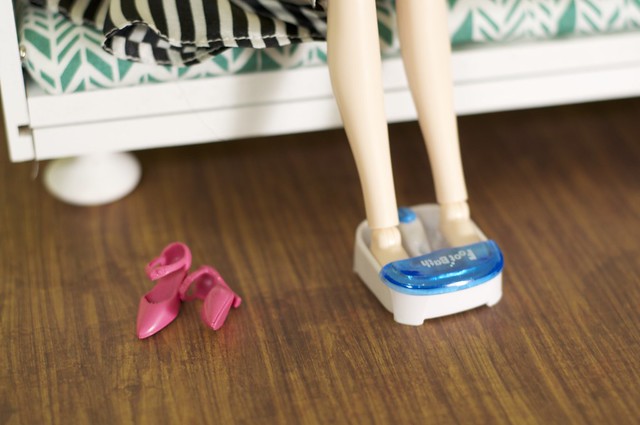
Rest your feet, Luna!
Ahhh!  That feels good!


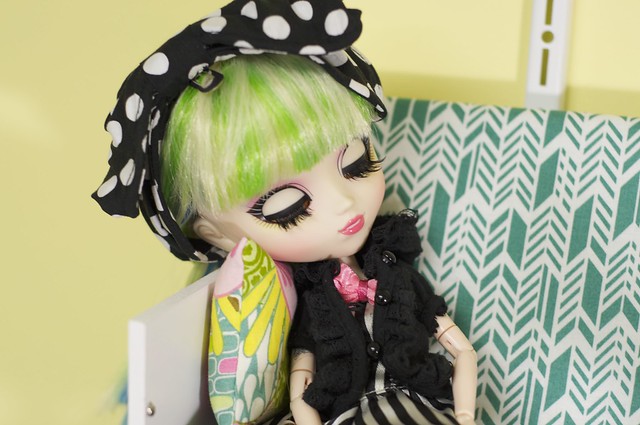
Sleeping Luna
Rest, sweet Luna

An uneaten egg tart
An uneaten egg tart

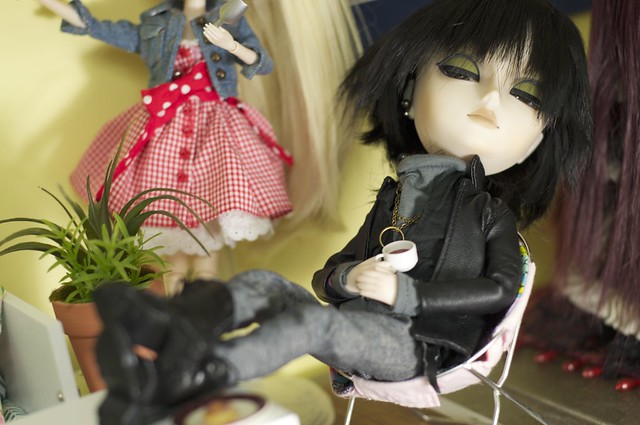
Jax snoozes after a long day of making music
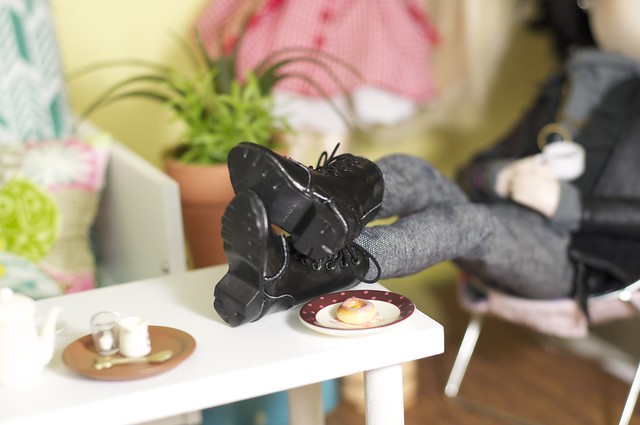
There is clearly not enough caffeine in that coffee!

It's all in the details
Almost finished this piece!

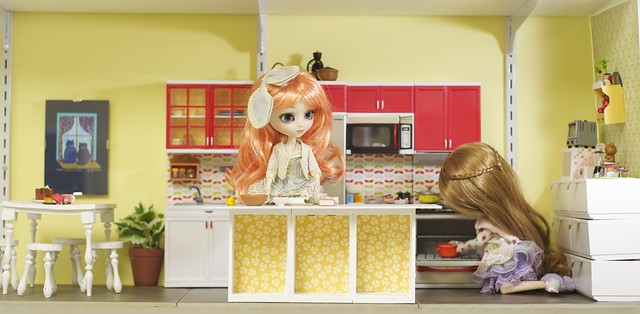
Meanwhile, in the kitchen...

In the Kitchen and Dining Room
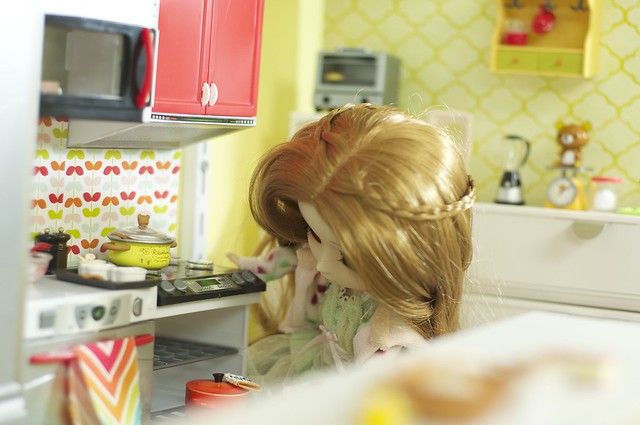
Nikki and Suzette are working away


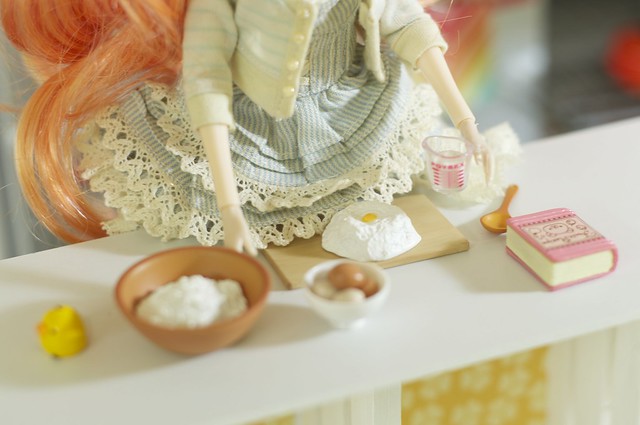
Mis En Place
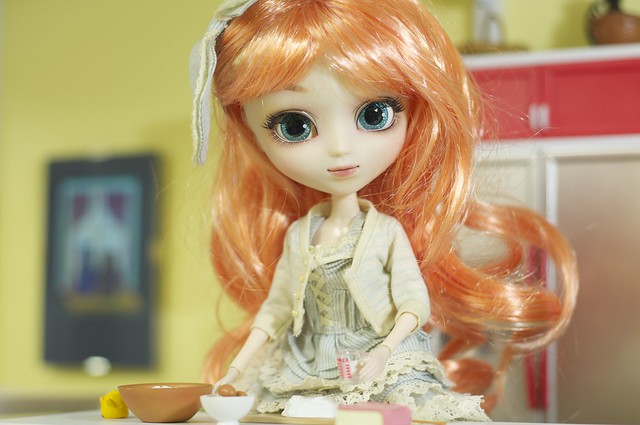
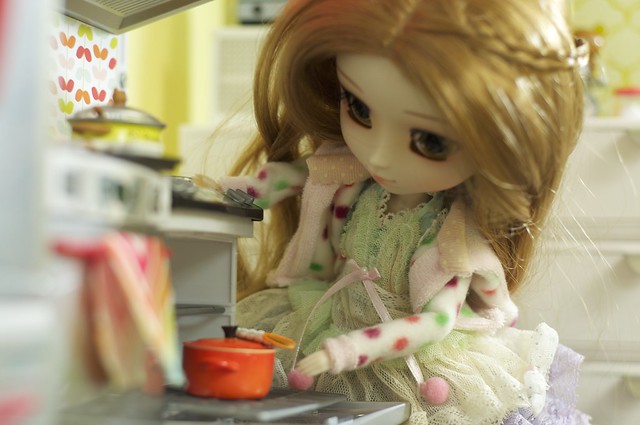
Suzette is making a welcome cake for Nero

Suzette is baking a welcome cake for Nero
This is an old family recipe.  I hope he likes it!

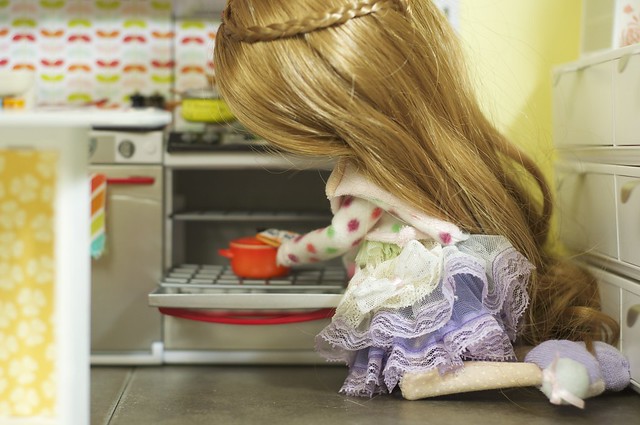
Nikki checks on the chicken

Almost done!
It's almost done!

about 5 more minutes
We'll give it 5 more minutes


And that's what's happening in the apartment today!

Check out the slide show: