
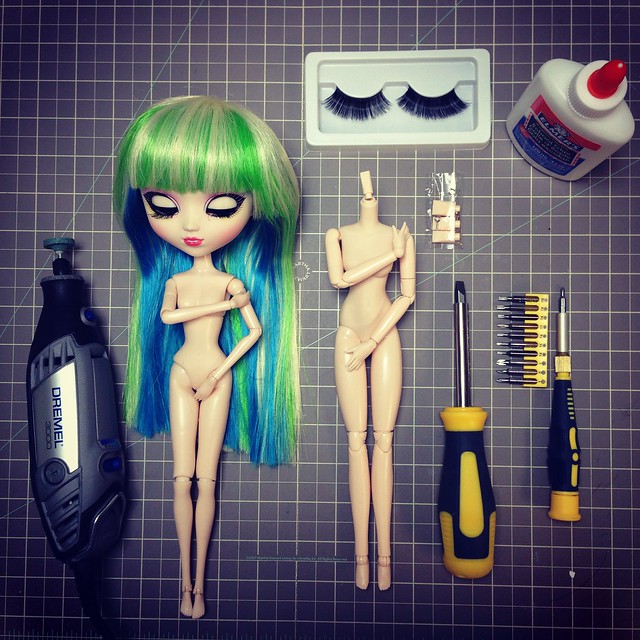
I gathered up my supplies: My new Dremel tool for grinding down the neck peg of the Obitsu, Pullip Tokidoki Luna (under a general anesthetic), my 27 cm small bust soft body Obitsu (white), neck pegs (these are included with the body- I used the largest that came in the package), screw drivers (flat head and precision Philips), eye lashes (from Halloween), Elmers white glue (must be water soluble school-type glue so it does not melt the plastic). Not pictured here (because I wasn't planning to change her eye chips): Cool Cat smooth eye chips in dark purple.
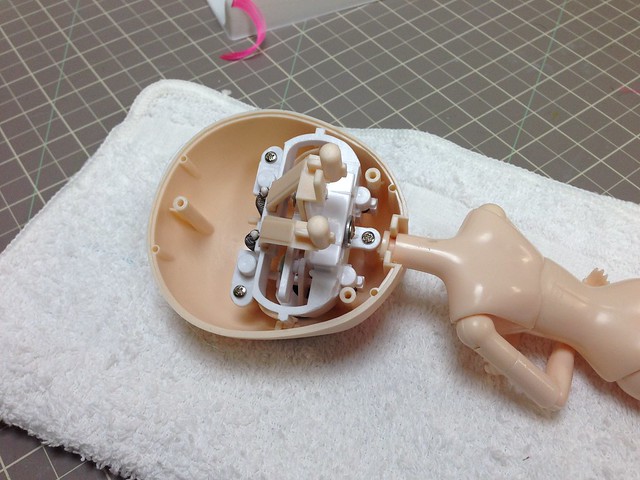
I began by removing Luna's head from her stock body, which required a trip across the street to borrow a neighbour's screwdriver, because my precision screwdriver was not narrow enough to reach into the deepest hole in the head. Then I attached the largest neck peg to the Obitsu body and proceeded to grind down the peg to the size of the Pullip neck peg. This did not take very long at all, despite the fact that I was using a fine grit grinder when I probably ought to have been using a medium grit (which did not come with my Dremel).
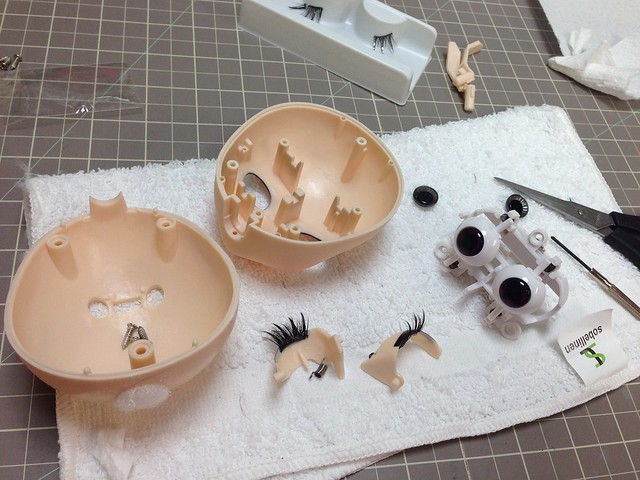
While I had her head open, I decided to apply extra lashes. I did not use the ones pictured above but a more feathery set from Halloween. This, which I thought would be the most straight-forward part of this modification, was actually the trickiest for me. First, the eyelashes (made for humans) come with a very sticky adhesive that is on the wrong side of the lashes for doll application. You have to adhere them under the lids, not over the lids. So when you apply the lashes to the wet Elmer's glue, they stick to your hand, your tweezers, your table, the scissors... basically anything other than the wet Elmer's glue on the doll's eyelid.
In the midst of my eyelash problem I decided to try out new eye chips. I do really like Luna's black eyes, but I had her open, and I had 5 new pairs of eye chips in my Christmas stocking, so I figured I'd try them out and could always go back to the black if I didn't like the purple. The black eye chips popped out easily with a precision screwdriver, and I glued the new ones in place with more of the Elmer's glue.
Then I had the brilliant (not!) idea to cover the sticky part of the eyelashes in Glossy Accents. This part (with the Glossy Accents) in theory (but I will learn, not in practice) will not touch any part of the plastic on the doll, so it should be ok, even though I am not sure what Glossy Accents will do to plastic over time. My idea was that the glossy accents would dry into a glossy rubbery substance that will not be sticky, and allow me to stick the lashes in the Elmer's glue without them sticking to my hands. Well, that seemed like it would work, except that when I put the head back together, the line of Glossy accents was too thick and it basically squished against the eyeball (eek! My brand new eye chips!!) creating a sticky mess all over the eyeball, the lid, and the lashes.
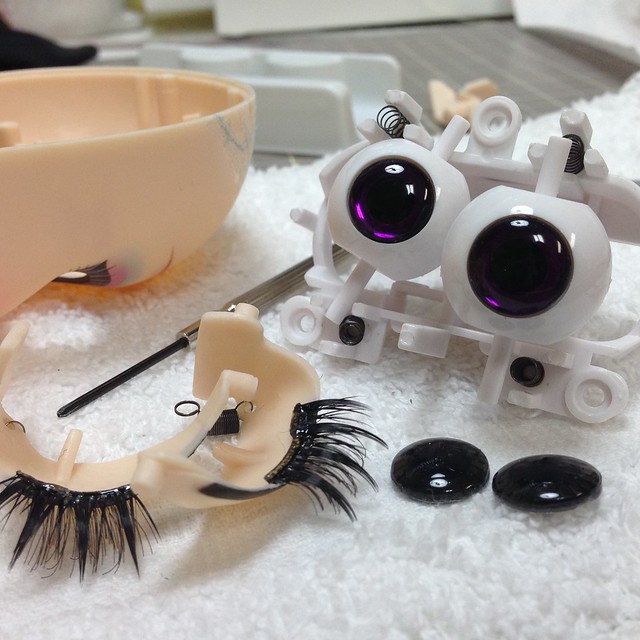 |
| What not to do: Covering the sticky side of the eyelashes in Glossy Accents |
It took me over 30 minutes to clean up all traces of Glossy Accents and eyelash adhesive from the eyeballs and eyelids. But those pesky little lashes were still sticky on the wrong side! So I decided I could cut tiny strips of black tissue paper and stick the strips along the edge where the eyelash adhesive was. Although this strip of paper should not be seen from outside the doll, I wanted it to match the eyelashes just in case I was messy and a bit of it showed. It turns out, this idea did the trick and I was finally able to close up the doll. Phew!
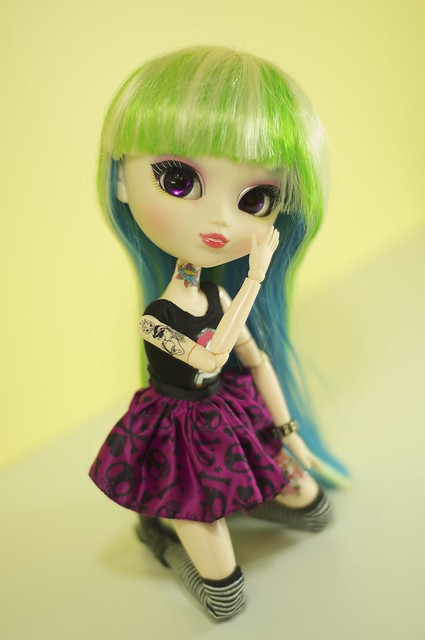 |
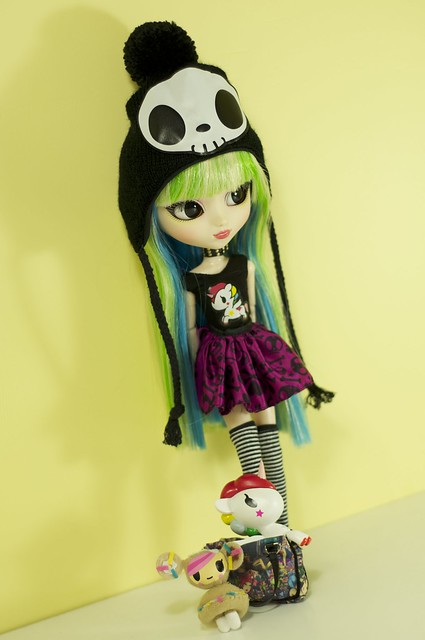
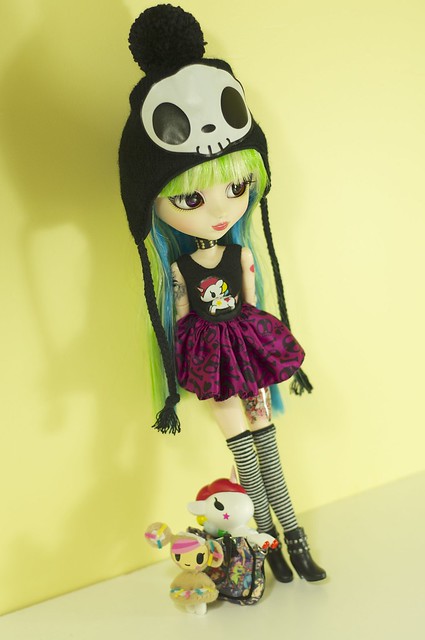
| Here she is showing off her new pose-ability and shiny eye chips! |
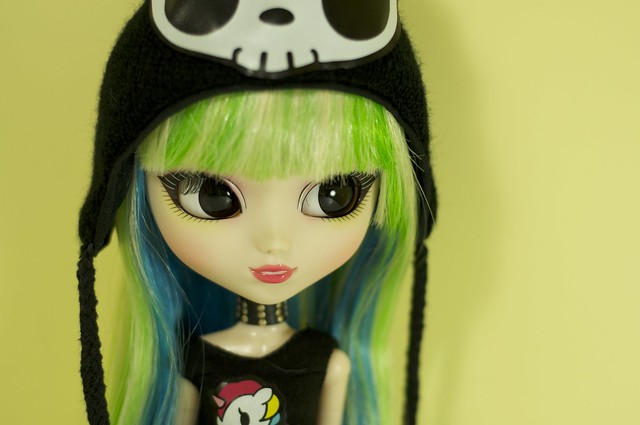 |
| Before |
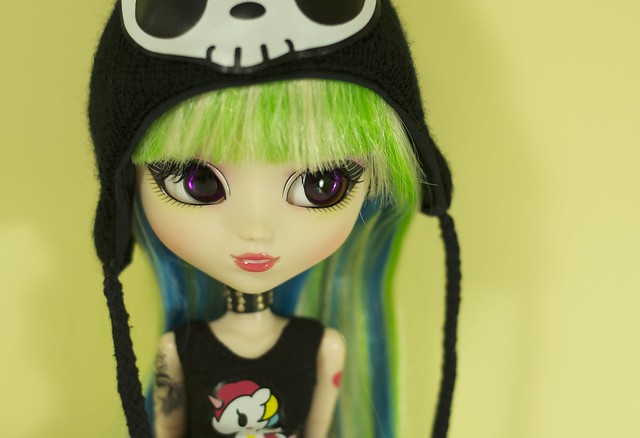 |
| After |
 |
| Before |
 |
| After |
No comments:
Post a Comment