Monday, December 30, 2013

When I'm not around...

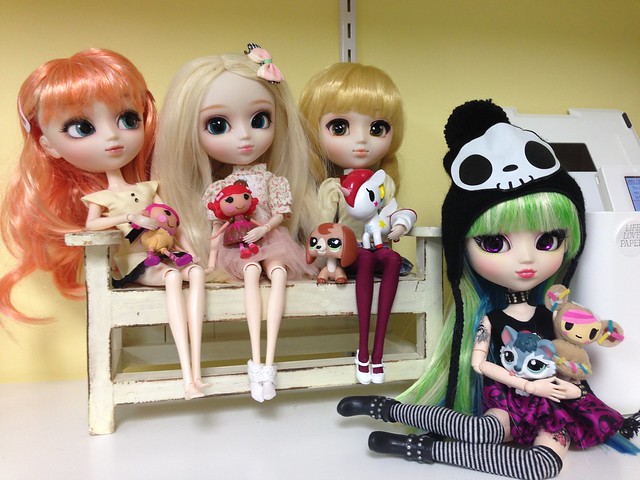
So this is what my dolls look like when I'm here with them in my craft room:
IMG_0209
Some collectable dolls on a shelf

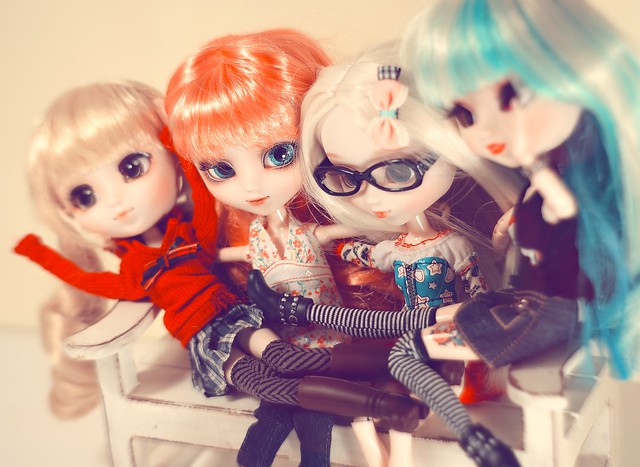
...and this is them when I leave:
All 4 girls cram in for a pic

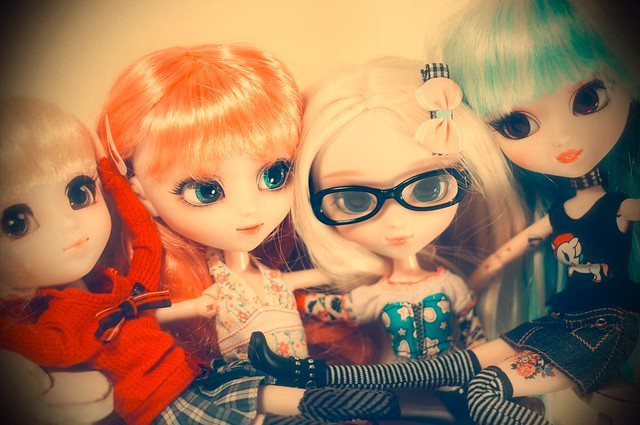
Best friends

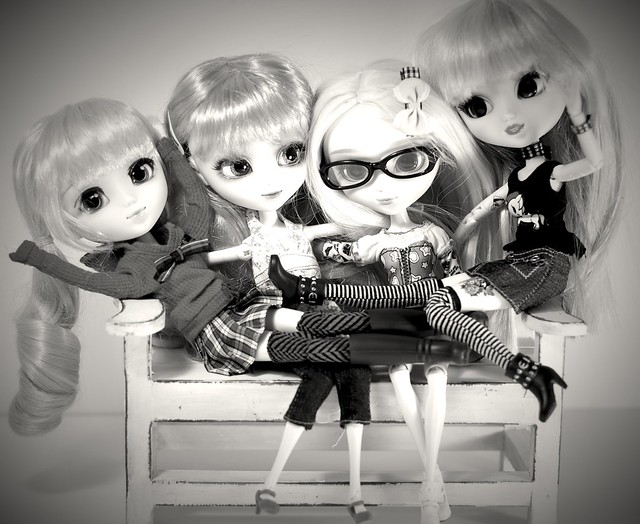
cheese!

Friday, December 27, 2013

Pullip Luna goes under the knife!

I've had my 27 cm small bust soft body Obitsu since soon after I received Suzette (Pullip Io, my first Pullip), but I am just now getting around to putting it on one of my dolls.  It wasn't my intention to have my first modification be with my very favourite doll, but I really wanted to apply Luna's tattoos, so she ended up being my Guinea pig.
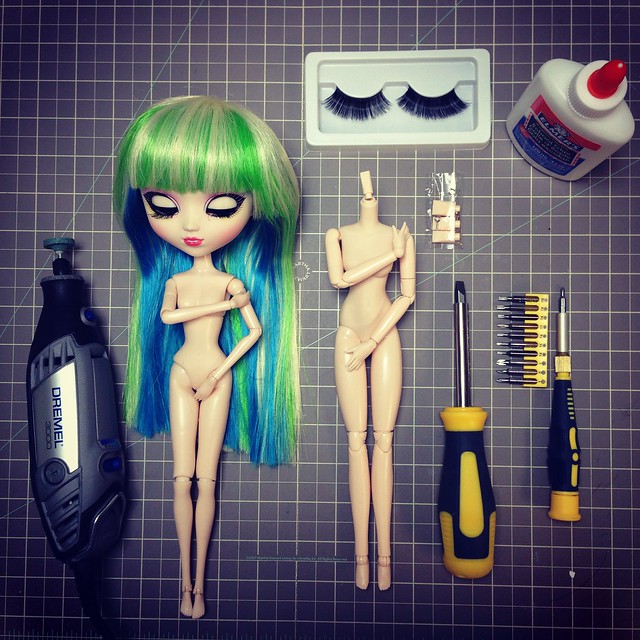

IMG_0197

I gathered up my supplies: My new Dremel tool for grinding down the neck peg of the Obitsu, Pullip Tokidoki Luna (under a general anesthetic), my 27 cm small bust soft body Obitsu (white), neck pegs (these are included with the body- I used the largest that came in the package), screw drivers (flat head and precision Philips), eye lashes (from Halloween), Elmers white glue (must be water soluble school-type glue so it does not melt the plastic).  Not pictured here (because I wasn't planning to change her eye chips): Cool Cat smooth eye chips in dark purple.
IMG_0200

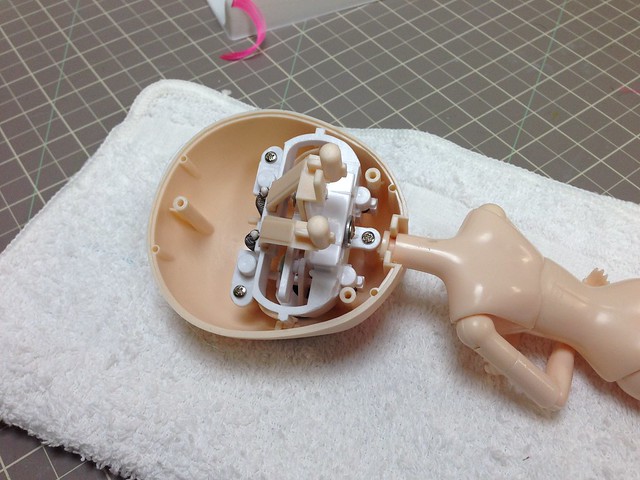
I began by removing Luna's head from her stock body, which required a trip across the street to borrow a neighbour's screwdriver, because my precision screwdriver was not narrow enough to reach into the deepest hole in the head.  Then I attached the largest neck peg to the Obitsu body and proceeded to grind down the peg to the size of the Pullip neck peg.  This did not take very long at all, despite the fact that I was using a fine grit grinder when I probably ought to have been using a medium grit (which did not come with my Dremel).

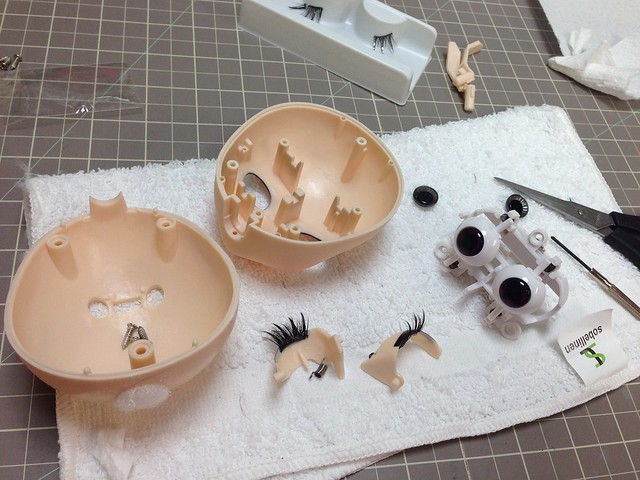
While I had her head open, I decided to apply extra lashes.  I did not use the ones pictured above but a more feathery set from Halloween.  This, which I thought would be the most straight-forward part of this modification, was actually the trickiest for me.  First, the eyelashes (made for humans) come with a very sticky adhesive that is on the wrong side of the lashes for doll application.  You have to adhere them under the lids, not over the lids.  So when you apply the lashes to the wet Elmer's glue, they stick to your hand, your tweezers, your table, the scissors... basically anything other than the wet Elmer's glue on the doll's eyelid.

In the midst of my eyelash problem I decided to try out new eye chips.  I do really like Luna's black eyes, but I had her open, and I had 5 new pairs of eye chips in my Christmas stocking, so I figured I'd try them out and could always go back to the black if I didn't like the purple.  The black eye chips popped out easily with a precision screwdriver, and I glued the new ones in place with more of the Elmer's glue.
IMG_0201

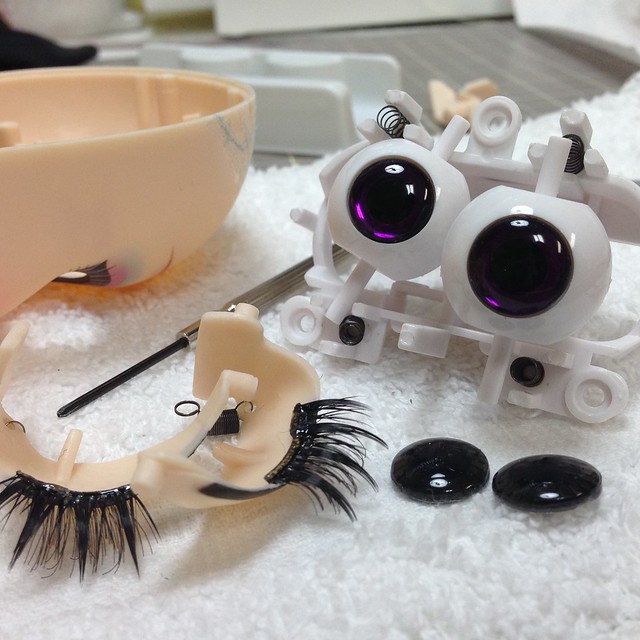
Then I had the brilliant (not!) idea to cover the sticky part of the eyelashes in Glossy Accents.  This part (with the Glossy Accents) in theory (but I will learn, not in practice) will not touch any part of the plastic on the doll, so it should be ok, even though I am not sure what Glossy Accents will do to plastic over time.  My idea was that the glossy accents would dry into a glossy rubbery substance that will not be sticky, and allow me to stick the lashes in the Elmer's glue without them sticking to my hands.  Well, that seemed like it would work, except that when I put the head back together, the line of Glossy accents was too thick and it basically squished against the eyeball (eek!  My brand new eye chips!!) creating a sticky mess all over the eyeball, the lid, and the lashes.
IMG_0202
What not to do: Covering the sticky side of the eyelashes in Glossy Accents

It took me over 30 minutes to clean up all traces of Glossy Accents and eyelash adhesive from the eyeballs and eyelids.  But those pesky little lashes were still sticky on the wrong side!  So I decided I could cut tiny strips of black tissue paper and stick the strips along the edge where the eyelash adhesive was.  Although this strip of paper should not be seen from outside the doll, I wanted it to match the eyelashes just in case I was messy and a bit of it showed.  It turns out, this idea did the trick and I was finally able to close up the doll.  Phew!


DSC_4301
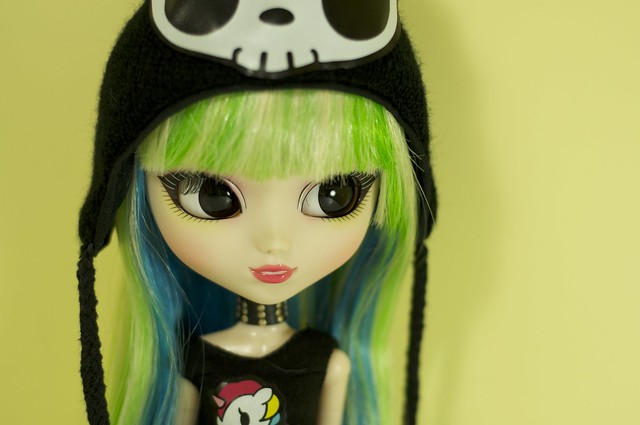
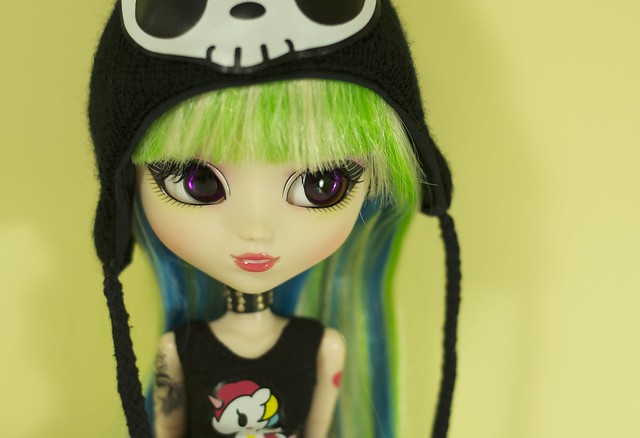
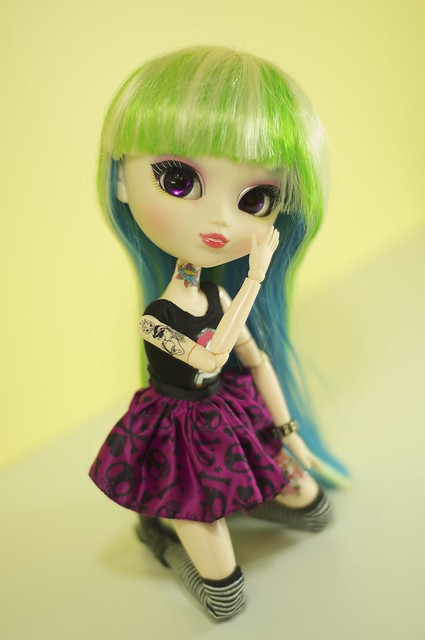
Here she is showing off her new pose-ability and shiny eye chips!


DSC_4251
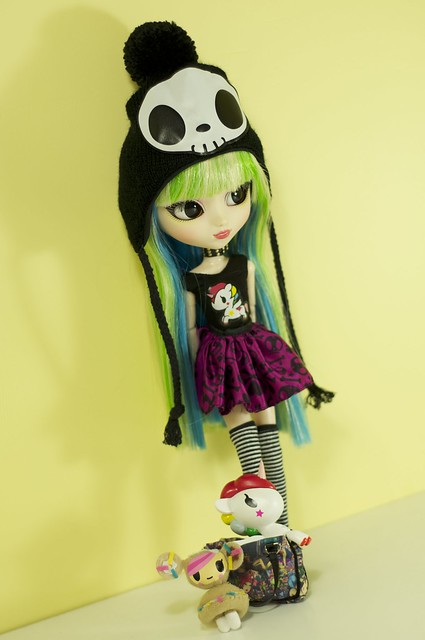
Before
DSC_4349
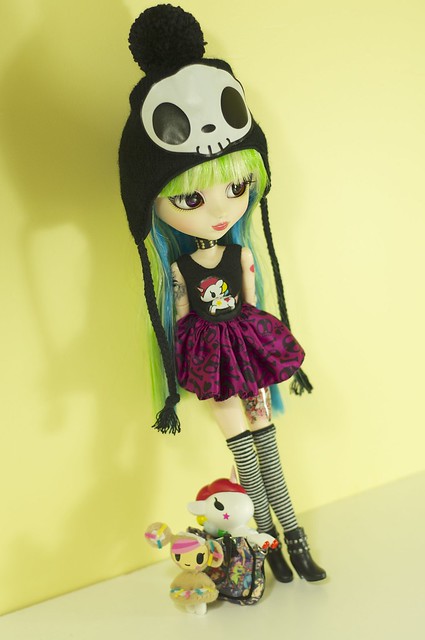
After
DSC_4249
Before
DSC_4359
After


Thursday, December 19, 2013

Introducing Luna (Pullip Tokidoki Luna)

December 19, 2013:
I was just getting into this hobby as Tokidoki Luna was selling out at all the online Pullip retailers.  She caught my eye right away, but I didn't realize she would be sold out so quickly, so I didn't make her one of my first purchases.  But luckily there are still a few floating around on eBay and I managed to nab one for not too much more than her last Pullip Style retail price.  My husband told me to get her for my birthday (along with Tomoe Mami, which I had already ordered at that point).  She arrived yesterday and here she is:

"Cute, Funny, Sexy? Sometimes, now word can fully describe? My charm it’s more than….Feel Like So."
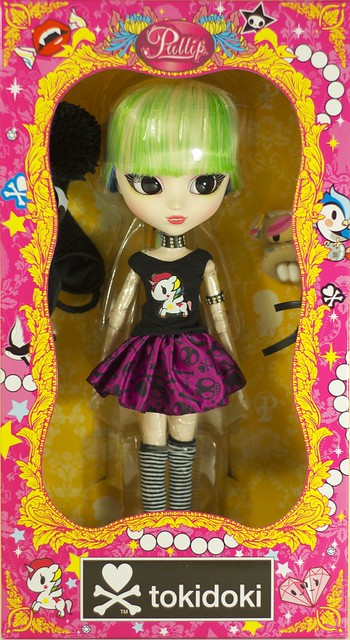
Luna in her box
Luna in her box
Her box is really pretty, and decorated with Tokidoki characters.  She comes wrapped in lots of plastic.  It took a while to unwrap her, especially being careful of her delicate ankles and wrists.  I will rebody her soon but I still didn't want her broken right out of the box!
Luna in her box
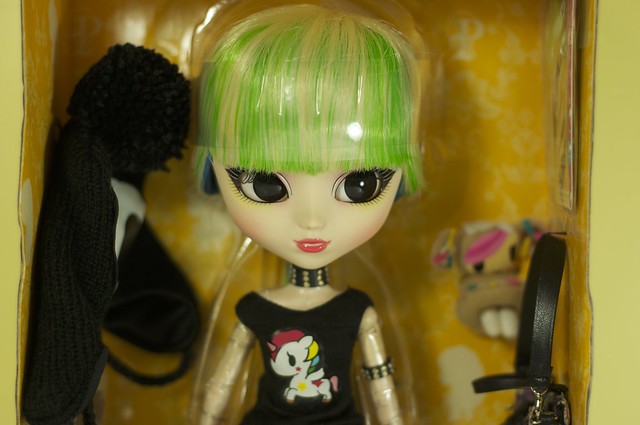
Her faceup is so much nicer than I thought it would be!
She is so lovely... but wait until you see her unboxed!
Luna in her box
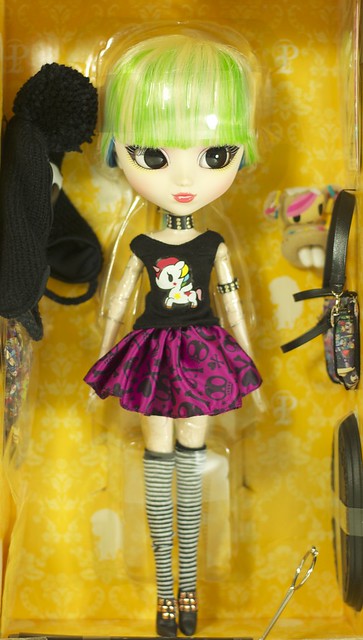
Tokidoki Luna comes with a lot of stuff

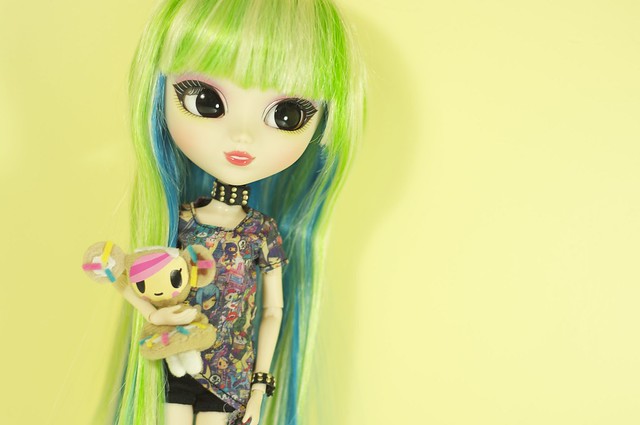
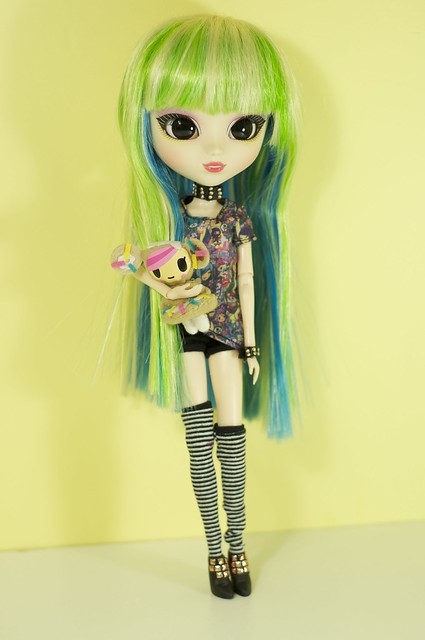
Here she is:
Introducing Luna
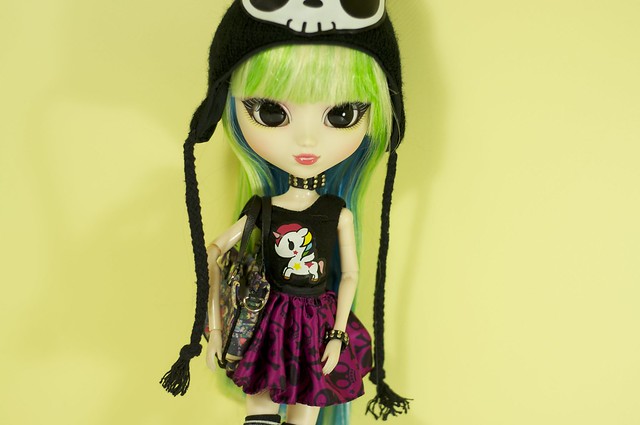
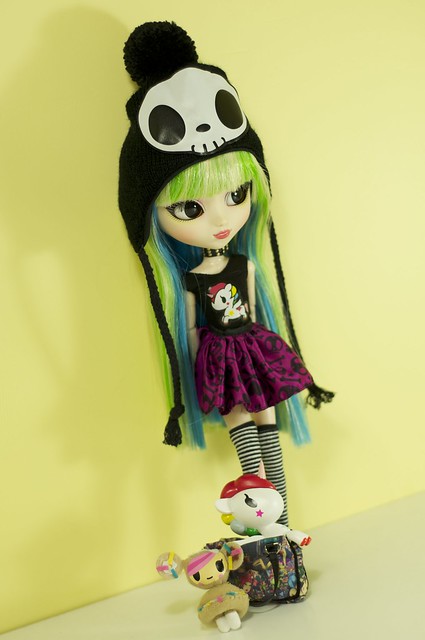
Wearing her stock outfit and carrying her Tokidoki hand bag
Luna comes with her stock outfit (black sleeveless top with Stellina unicorn image, satin pink and black skirt with skulls and hearts, black and white striped stockings, faux-leather studded choker and bracelet, ankle-high boots, skull hat, black cotton short-shorts) as well as an extra Tokidoki printed top, a Tokidoki purse, a plush Tokidoki character, and a set of sticker tattoos.  I am saving her tattoos for her Obitsu body, so I will not show them here, but you will see them in the video below.

Luna has all her favourite
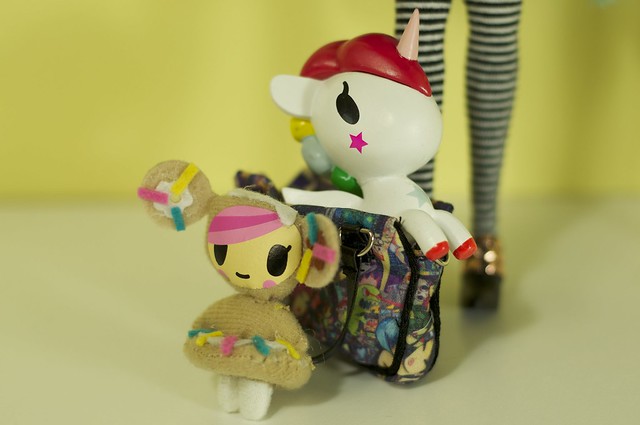
Just hanging out with her favourite things 
She does not come with the Tokidoki unicorn figure.  The purse also has a removable shoulder strap which is not shown in any of the photos.

Luna's faceup is so pretty!
Her beautiful faceup!
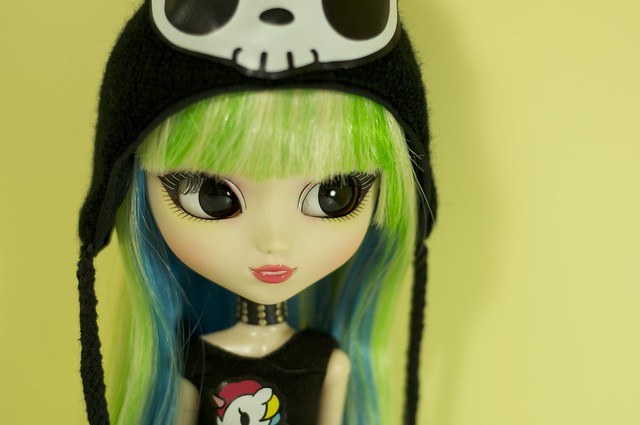
Luna has the most amazing faceup!  Her bangs cover her eyeshadow, but I show it in the video below.  She has pink and blue eye shadow and thick upper eyeliner with white highlighted painted eyelashes.  her lower painted lashes are black but there is a touch of yellow shadow under her eyes which I really love.  Her mouth is painted open with her teeth showing in a nice smile.  I love the creamy pink colour of her lips.

Tokidoki Luna's accessories
Her accessories (Unicorn not included)

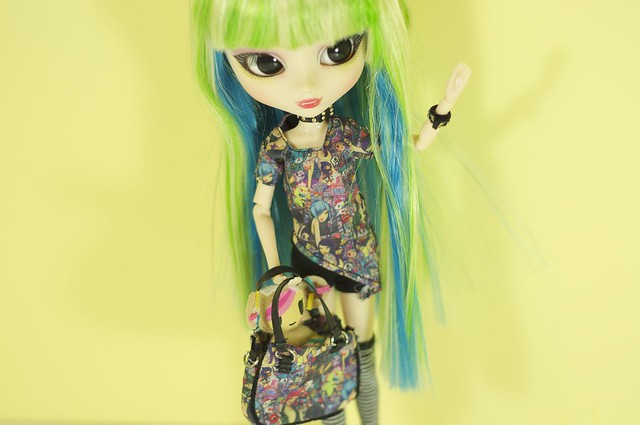
Here she is without the skirt and wearing her extra Tokidoki top:
Luna in her other shirt
The top and purse are the same pattern
Luna in her other shirt
Her wig is really unique
I love her long straight hair.  It has an outer layer of blonde, with a layer of neon green underneath, and the very bottom layer is a bright blue.  It is so colourful and fun!

Luna in her other shirt
I really love her ankle boots but one of the studs came off :(
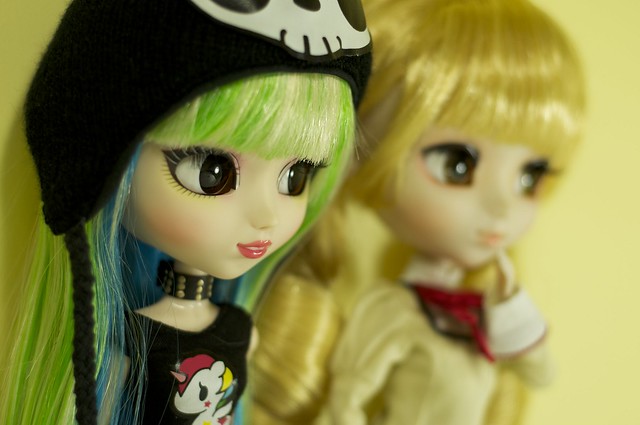
The New Girls
The 2 new girls on the block
Here is my unboxing and first impressions video for Tokidoki Luna:


Monday, December 16, 2013

Introducing Nikki (Pullip Tomoe Mami)

December 16, 2013:
I was ecstatic to learn that the first part of my birthday present was at the post office today!

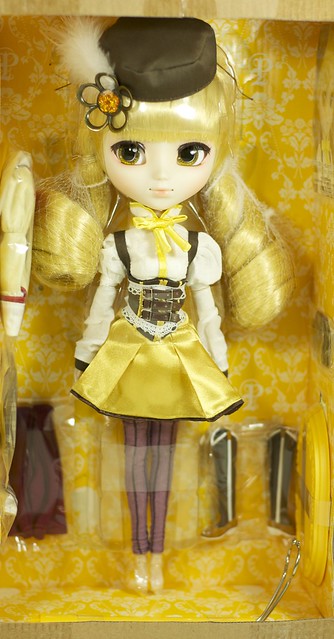
Tomoe Mami in the box
Pullip Tomoe Mami
"I apologize but... I am going to make the SHOT!! ''TIRO FINALE''... Feel Like So."

Tomoe Mami was released in November 2011, and is based on a character from an anime and from what I've seen of the character, Groove really got this one right.  Pullip Tomoe Mami looks very much like the anime character she was based upon:

(Image found on the anime character database )


Tomoe Mami is so pretty!
Her thick upper eyeliner and neutral lips are perfect!
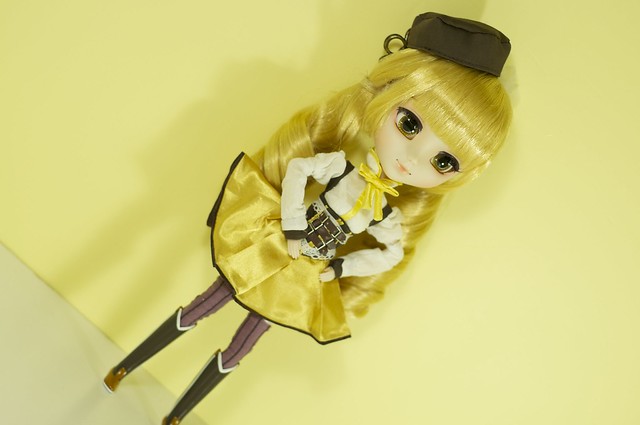
 Tomoe Mami is beautiful!  I love her faceup, especially the thick upper eyeliner that really sets her eyes apart from most other pullips that I've seen.  I'm not into anime, but I love the look of her squarish eyes and it is the main reason I ordered her.  She comes with 2 outfits, the magical girl outfit that she comes in and a school girl outfit that is wrapped separately in the box.

Tomoe Mami in the box
Tomoe Mami in her box
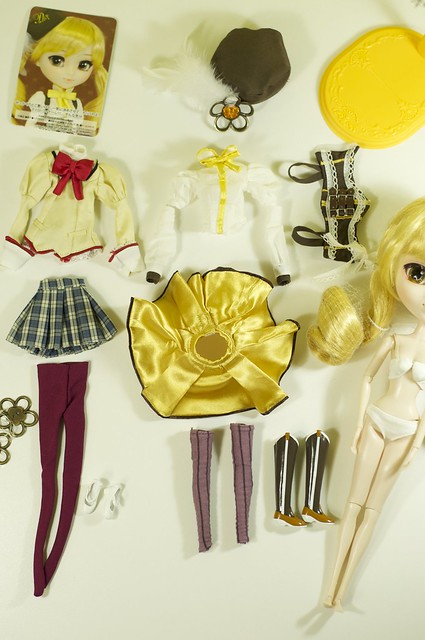
Here are all the things she comes with: her card, her magical outfit (blouse, skirt, leg warmers, boots, corset, hat), her school outfit (fancy top, plaid skirt, tights, white shoes).  She also comes with a yellow stand and some metal flowers that apparently have some significance to the character's powers.  She also comes with a white padded push-up bra and panties.  Apparently Tomoe Mami is voluptuous.

Tomoe Mami's Stock
Lots of goodies come in the box
She came with her arms and legs covered in plastic, so I guess her stock outfit is expected to stain her body.  I do plan to rebody her in an obitsu anyhow, which I will have to do sooner than later because her legs are very loose.  Anyhow, when I undress her, I will colour fast these clothes before storing them with my doll clothes.

Introducing Nikki
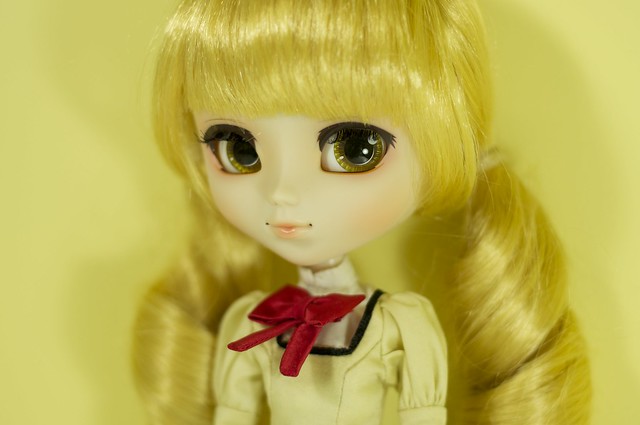
I surprisingly like her wig a lot.  I was planning to rewig her right away, but I think I will leave her wig for awhile and enjoy her shiny, curly, yellow locks.  Her hair is a lot shiner than Io and Ally's stock wigs which are quite dull.

Introducing Nikki
Ready for action!

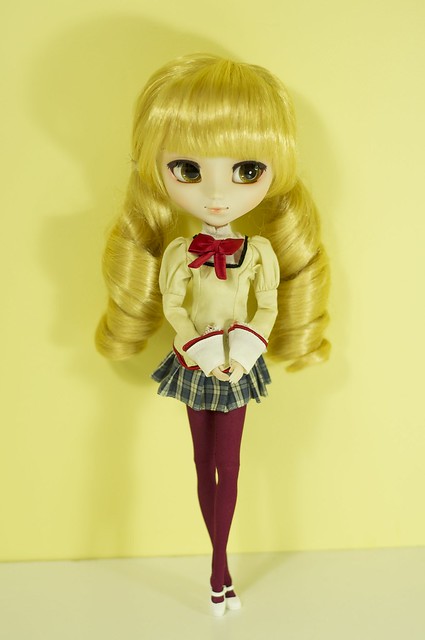
Here she is in her school outfit, which I much prefer over the other outfit (especially since I'm not using her as the anime character she is based upon):

Nikki in School outfit
I am in love with that blue plaid skirt and the burgundy leggings!
Nikki in School outfit
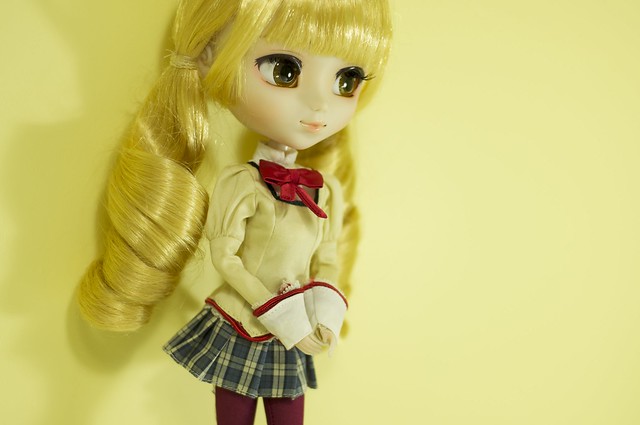
Her top is very detailed!  I love the red bow, especially since it's Christmas time now.
Nikki in School outfit
Her faceup is so pretty with the orange blush and orange under eyeliner.
Thanks for taking a look at her.  Below is my unboxing and first impressions video:

Pullip Secrets (photoshoot)

I've been scouring Pinterest for some inspiration for doll photoshoots, and this is one photo I came across that I really wanted to recreate:
This is NOT my photo.  It was found on Pinterest, which linked to Buzzfeed, which cited Pinterest as the source, so it's hard to say who this photo belongs to.
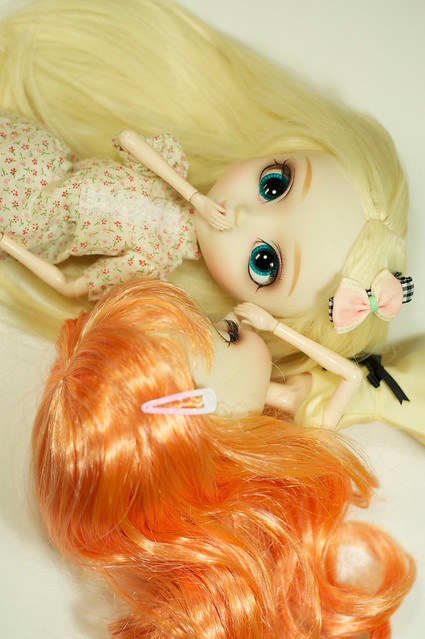
I wanted to contrast the contrast the colours of my 2 dolls' hair, and I wanted it to be like a "yin and yang" type of concept, so I wanted their hair to go from one diagonal corner to the other.  I ended up rotating the position of the dolls by 90 degrees to get the feel I wanted.  After taking about a dozen shots, I'm really pleased with the results of one:

Secrets
Secrets

Models: Ally, Suzette (Pullip Io rewigged)
Clothes: Dresses from Pullip Doll Dreams

Sunday, December 8, 2013

Pullip Ally and Suzette decorate for Christmas

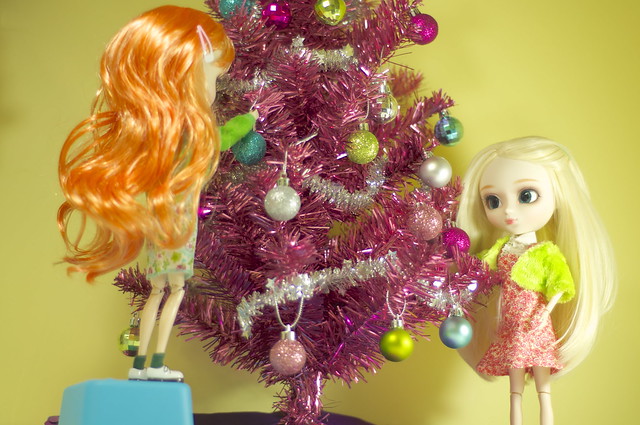
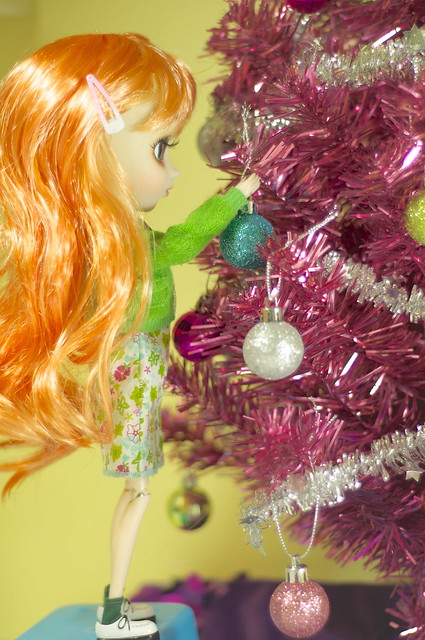
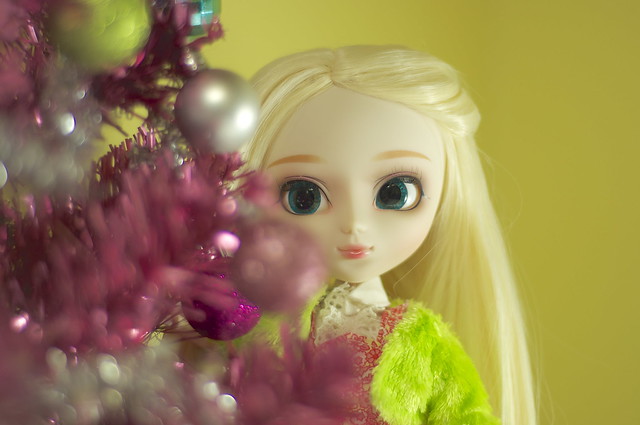
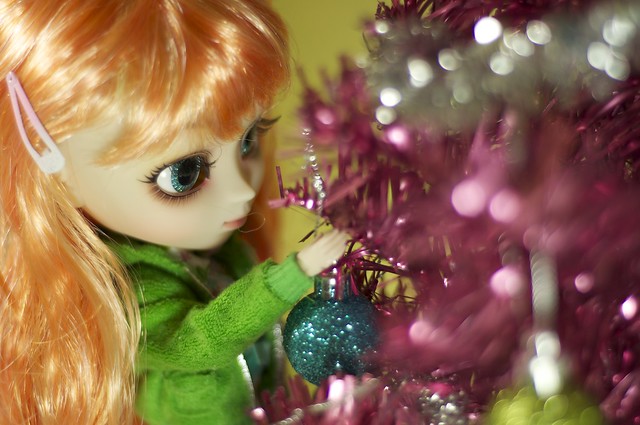
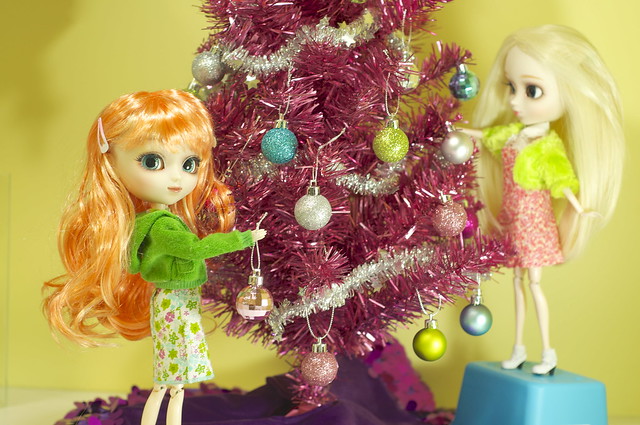
I picked up a little tree to make my craft room festive, and Ally and Suzette went to work on decorating it for me:

Trimming the tree
"rocking around the Christmas tree..."

Trimming the tree
Suzette can't decide where this blue one goes

Trimming the tree
Ally peeks from around the tree

Trimming the tree
Suzette: This blue one matches my eyes!

Oh Christmas Tree!
"Happy holidays everyone!"
Models: Ally, Suzette (Pullip Io rewigged)
Clothes: 
  • Suzette: Barbie dress, Liv Doll sweater, Groove shoes and socks {British Nerd set}
  • Ally: Dress and Blouse sewn by me, sweater from a Ty doll, Groove shoes and socks
Props: Christmas tree, decorations, tree skirt from Target; Step-stool is a container from Walmart